In this article, we’ll walk you through some types of website development and the website development process.
What is website development?

A website development process is a documented sequence of steps to follow to finish a website development project or web application properly.
This process supports the alignment of development resources, decision-makers, and team members to ensure that all aspects of the project are resolved and delivered on time.
Types of website development
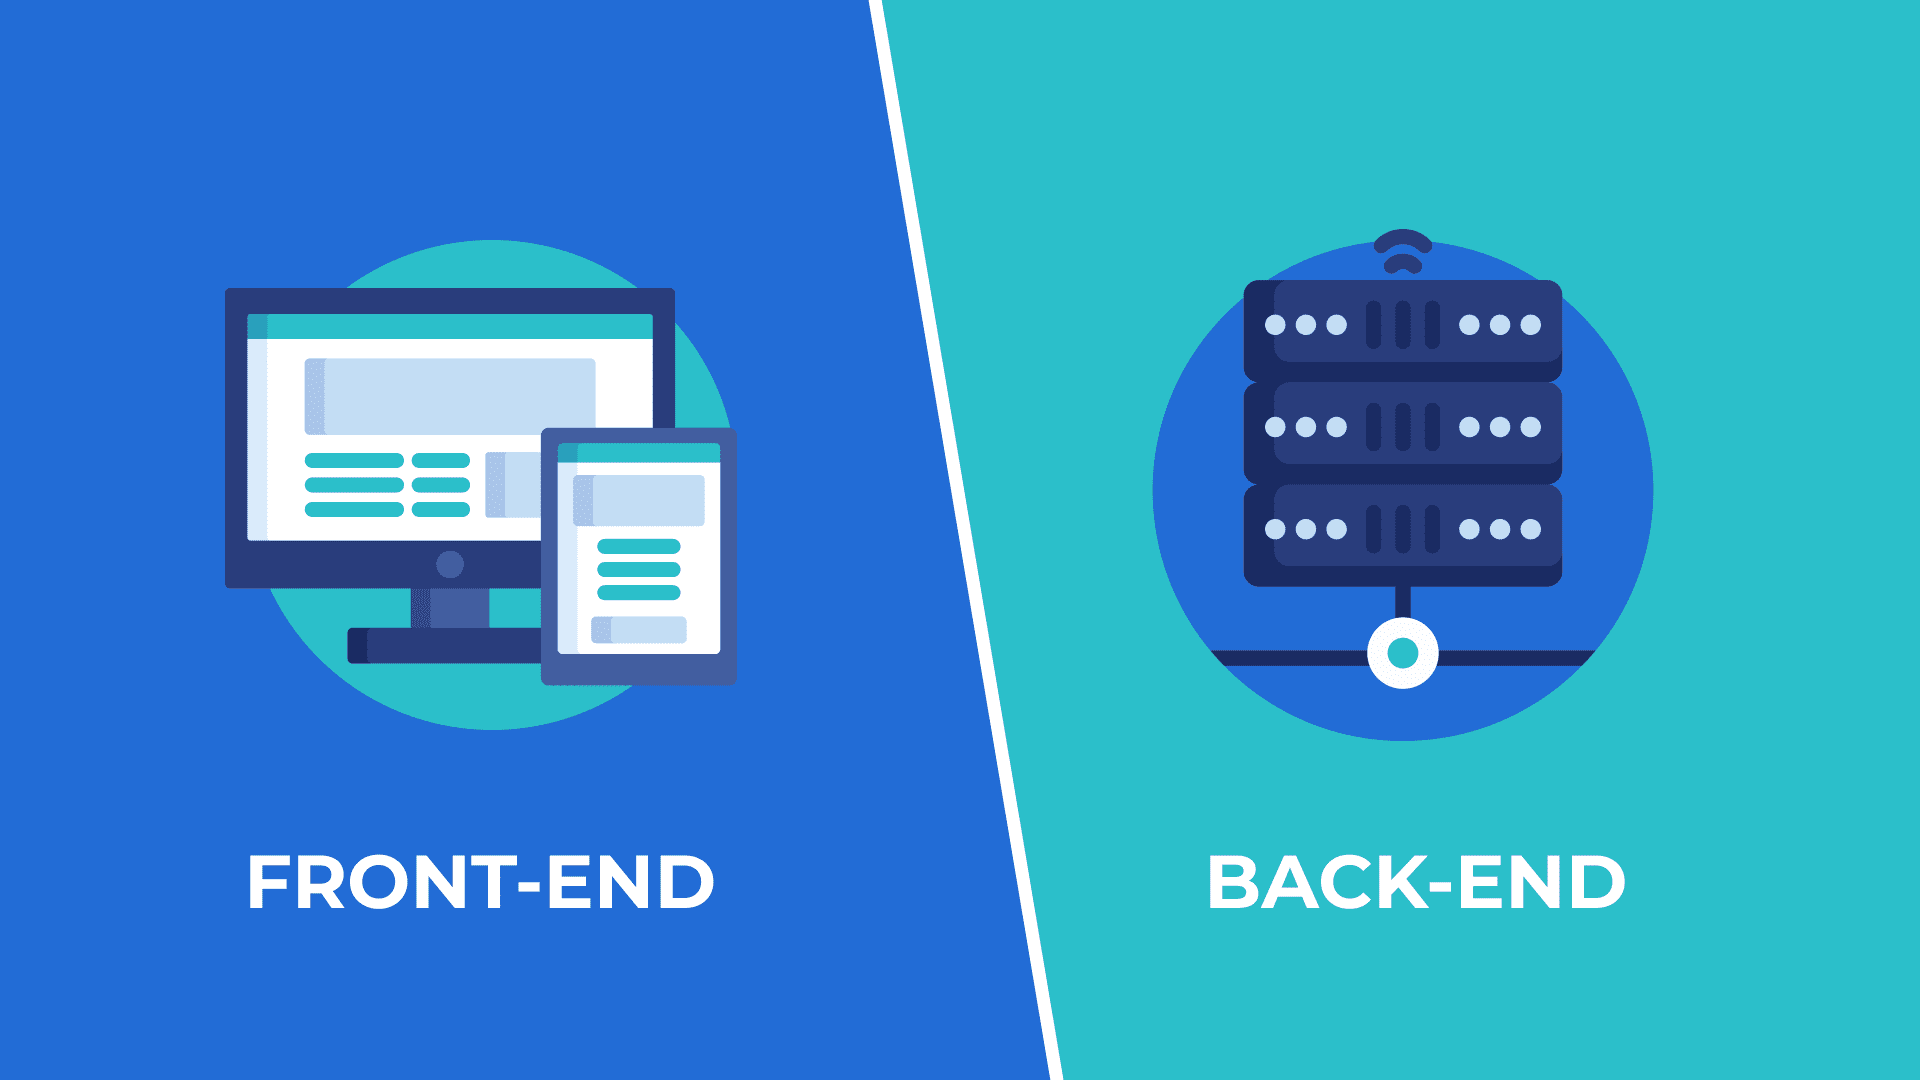
There are several kinds of website development, but the two most common are front-end and back-end development. This relates to what a user sees and does not see on the website.

#1 Front-end development
What the user sees and interacts with on the website results from front-end development. The colors, design, fonts, and images on a website are all examples of a website design. If you are a front-end developer, you are in charge of determining how a website should appear and function.
The website design is created using tools like Adobe Illustrator and Photoshop in front-end development. A front-end developer must also know several coding languages, such as HTML, CSS, and JavaScript.
#2 Back-end development
What the user of the website doesn’t see is the back-end development, as the back-end development process focuses more on functionality than the website look.
The back-end development includes anything behind the scenes of a website, such as a user identification, network and hosting configuration, database connection, and more.
A back-end developer is in charge of ensuring that everything on the website functions properly. For example, a back-end developer gathers and analyzes data when users submit their information to a website.
What does the website development process include?
The process of website development will vary depending on the website, but in general, it will include the following eight steps:
- Step 1 Gathering information
- Step 2 Planning
- Step 3 Designing
- Step 4 Content
- Step 5 Coding
- Step 6 Testing
- Step 7 Launching
- Step 8 Monitoring
Step 1 Gathering information

You need to gather information before building a website. This will include your intent, core purpose, and target audience.
Often, your website was created primarily to serve your purpose. It may be for self-promotion or to offer information on a specific subject. Your goals are what you hope to achieve with this website. Setting purposes will help you decide how to build the website and what content to include.
Every business has a target audience, so figure out who yours is before building the website. Consider your ideal customer’s age, gender, and interests.
Step 2 Planning
After you’ve gathered the necessary information for your website, you should begin planning it. You will create a sitemap using the data from the first step. A sitemap includes all of your website’s topics and sub-topics.
The sitemap describes the internal website structure and does not describe the user interface. Before working on a design, you may need to get approval from your client that everything looks fine so you can move on to the next phase of development. In this case, a wireframe or mock-up is needed.
An illustration of the user interface you will build is called a wireframe. Yet, it doesn’t include any design components: colors, logos, etc. You can use any tool to build mockups, such as Figma or another comparable tool.
Step 3 Designing

Your site takes shape during the design stage. All visual content, such as images, photos, and videos, is created at this stage. While working on a design, keep the customer and target audience in mind to make the interface design and user experience easy to use.
Step 4 Content
Writing and curating content usually overlap with other phases of website development, and its importance cannot be underestimated. At this point, write down what you want to communicate to your target audience and include a call to action. Content writing also consists of creating eye-catching headlines, proofreading, and other tasks that require time and effort.
Step 5 Coding
Graphic elements created during previous stages are used to create an actual website at this stage in the process of website development. Typically, the home page is created first, followed by all sub-pages, per the hierarchy previously documented in the sitemap.
The selected frameworks and CMS are used to guarantee that the installation and setup run smoothly on the server. At this stage, you must have a good grasp of every website development technology that you intend to use.
Step 6 Testing
The most common step in a website development process is testing a website. To ensure that there are no broken links, every single link needs to be checked.
Verify each form and each script, and use a spell-checking program to look for potential errors. Use code validators to ensure your code complies with the latest web standards.
Step 7 Launching

After thoroughly checking and testing the website, the exciting part begins: launching the website. You must upload your website to a server before it can be launched. After uploading it, run a last test to double-check that everything is in order. The website is now open to the public.
Step 8 Monitoring
Even after successfully launching your website, you should still go back and check it regularly. Errors can occur, so it’s crucial to monitor the website to ensure it stays up and running. Any issues should be resolved as soon as possible, and your website should always be current.
Final words
While the process may differ, the principles will not. Sticking to a tried-and-true website development process will give you an idea of what is needed in the short and long term and keep the project moving forward.
Knowing and grasping an ideal website development process will ensure your team can carry out a website development task from beginning to end.


